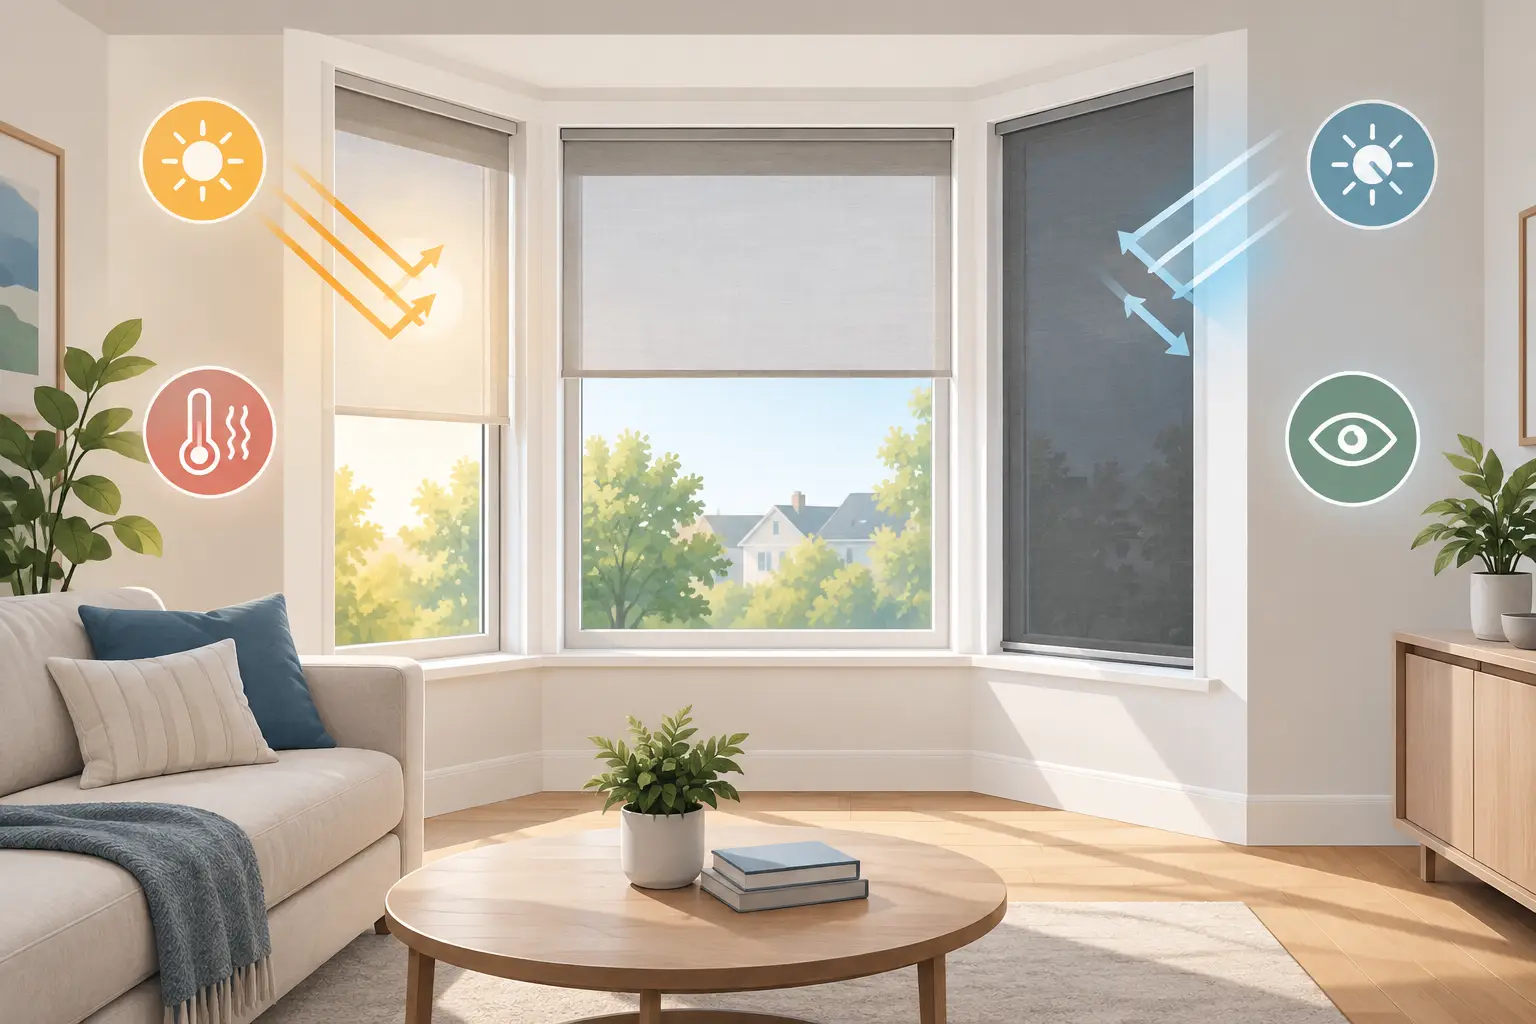
If a room is too hot by mid-afternoon, the television is hard to see because of glare, or passers-by can look straight in, the residential window film installation process is usually far simpler than most homeowners expect. Done properly, it is a clean, precise job that improves comfort, privacy and UV protection without changing how you use the space.
For homeowners, conservatory owners and static caravan owners alike, the main question is rarely whether window film works. It is whether the right film can be fitted neatly to the glass you already have, and what actually happens on installation day. The answer depends on the glass type, the size and position of the windows, and what you want the film to do – reduce heat, cut glare, add daytime privacy, or protect interiors from UV damage.
What the residential window film installation process involves
At its core, the residential window film installation process has four stages: assessing the glass, choosing the correct film, preparing the surface, and applying the film accurately. That sounds straightforward, but each stage matters because domestic glazing is not one-size-fits-all.
A south-facing lounge with large patio doors needs a different approach from a shaded bathroom window. A conservatory roof panel behaves differently from a standard side window. Static caravans also bring their own considerations, especially where strong sunlight, exposed park locations and close neighbouring units make heat and privacy bigger concerns.
This is why professional installation starts with the window itself, not the film sample. Before any fitting is booked, the installer needs to understand the glazing specification, the orientation of the property and the practical outcome you want from the finished result.
The initial survey and film selection
The first stage is working out what problem needs solving. Some customers want daytime privacy in a front room without closing blinds. Others are focused on anti-glare performance in a home office, or keeping a conservatory more usable through summer. In many homes, it is a combination of all three.
At survey stage, the installer will typically check the size and condition of the glass, the frame type, access, and whether there are any existing coatings or defects that could affect the finish. This is also the point where film type is selected. Reflective films are often used where privacy and solar control are the priority. Neutral or lighter films may suit customers who want a more subtle appearance. UV-reducing films can help protect flooring, furnishings and fabrics from fading.
There is always a balance to strike. A stronger reflective finish can improve daytime privacy and heat rejection, but it will also change the external look of the glass more noticeably. A lighter film may preserve a softer appearance but offer less privacy. Good advice here saves disappointment later.
Why glass compatibility matters
Not every pane of glass should be treated in exactly the same way. This is one of the most important parts of the process, and one of the clearest reasons to use a specialist rather than treating film as a simple off-the-shelf product.
Different glazing units absorb and reflect heat differently. If the wrong film is installed on the wrong glass, it can place additional thermal stress on the pane. That is why professional installers assess compatibility before recommending a product. It is not just about getting a neat finish. It is about long-term performance and peace of mind.
This matters particularly in conservatories and large glazed areas, where solar gain is already high. It also matters in modern homes with sealed units, toughened panes or specialist glazing specifications.
Preparing the windows for installation
Once the correct film has been chosen, preparation begins. This stage is more exacting than many people realise. Window film will only look as good as the surface beneath it, so cleaning is not a quick wipe with household spray. The glass must be thoroughly cleaned to remove dust, grease, residue and fine particles that could become trapped under the film.
Any stickers, paint specks or old adhesive need removing carefully. The surrounding frame and seals are also checked because dirt can easily transfer onto the glass during fitting. In domestic properties, this is one reason why a tidy, methodical approach matters. The installer is working in finished living spaces, not on an empty building site.
The room itself may need minor preparation too. Soft furnishings close to the window can be moved back slightly, and access to the glass should be clear. This helps the fitting go smoothly and reduces the chance of contamination while the film is being positioned.
How the film is cut and applied
After preparation, the film is measured and cut to suit each pane. Depending on the installation method and the window layout, this may be done by hand on site for a precise fit. Accuracy matters here because domestic windows often include handles, tight reveals and frame details that leave little room for error.
The glass is then wetted with an application solution so the film can be positioned correctly before it bonds. Once the film is in place, the installer uses specialist tools to remove the solution from beneath it and press the film evenly onto the glass. This pushes out water and air, helping create a smooth, consistent finish.
At this stage, experience shows. A professional fitter knows how to align the film cleanly, trim edges accurately and avoid creases, contamination and trapped pockets. The goal is a film that looks like part of the glazing, not an obvious add-on.
What homeowners can expect on the day
For most residential jobs, installation is relatively quick and low disruption. The exact timing depends on how many windows are being treated, how easy they are to access and whether there are larger glazed sections such as bifold doors or conservatory panels.
You can expect some moisture on the glass during fitting, along with routine movement of tools and equipment around the work area. This is normal. Once the film has been applied, the windows are left to cure naturally. The installer will usually explain aftercare clearly, including when the glass can be cleaned and what the curing process may look like over the next few days or weeks.
It is common to see a slightly hazy appearance or small water pockets at first. That does not mean the job has gone wrong. As the remaining moisture evaporates, the film settles into its final finish. Cure times vary with temperature, sunlight and ventilation, so a cooler time of year can mean it takes longer to fully dry out.
Results that depend on the room and the film
One of the strengths of window film is that it can be tailored closely to the room. In a front-facing reception room, privacy may be the main benefit. In a conservatory, heat and glare control often come first. In a home office, reducing screen reflection can make the space more usable throughout the day.
The same applies to static caravans. Many owners want to keep interiors cooler during warmer spells, reduce harsh brightness and add privacy from neighbouring units without making the caravan feel dark. A well-chosen film can make a noticeable difference, especially in exposed coastal locations where sunlight and reflective glare are more intense.
There are, however, realistic limits. Daytime privacy films do not usually provide the same effect at night when interior lights are on and it is darker outside. If round-the-clock privacy is the goal, that should be discussed at the selection stage so the right type of product can be considered.
Why professional installation is worth it
The biggest advantage of professional fitting is not just the appearance. It is getting the right film on the right glass, installed with the correct preparation and tools. That reduces the risk of visible flaws, poor performance or compatibility issues.
It also means the result is matched to how the property is used. A family home, a conservatory and a static caravan may all need solar control, but the finish and performance requirement can still differ. Tailored advice matters far more than simply choosing the darkest film available.
For customers across North Wales, the Wirral, Chester and surrounding areas, that local, application-led approach makes a difference. Properties vary, sunlight conditions vary, and so do customer priorities. A professional survey and installation process keeps the focus where it should be – on comfort, privacy, UV protection and a cleaner-looking result that performs properly over time.
If you are considering window film for your home, it helps to think less about tint as a cosmetic extra and more about what you need the glass to do better each day. Once that is clear, the right installation process follows naturally.