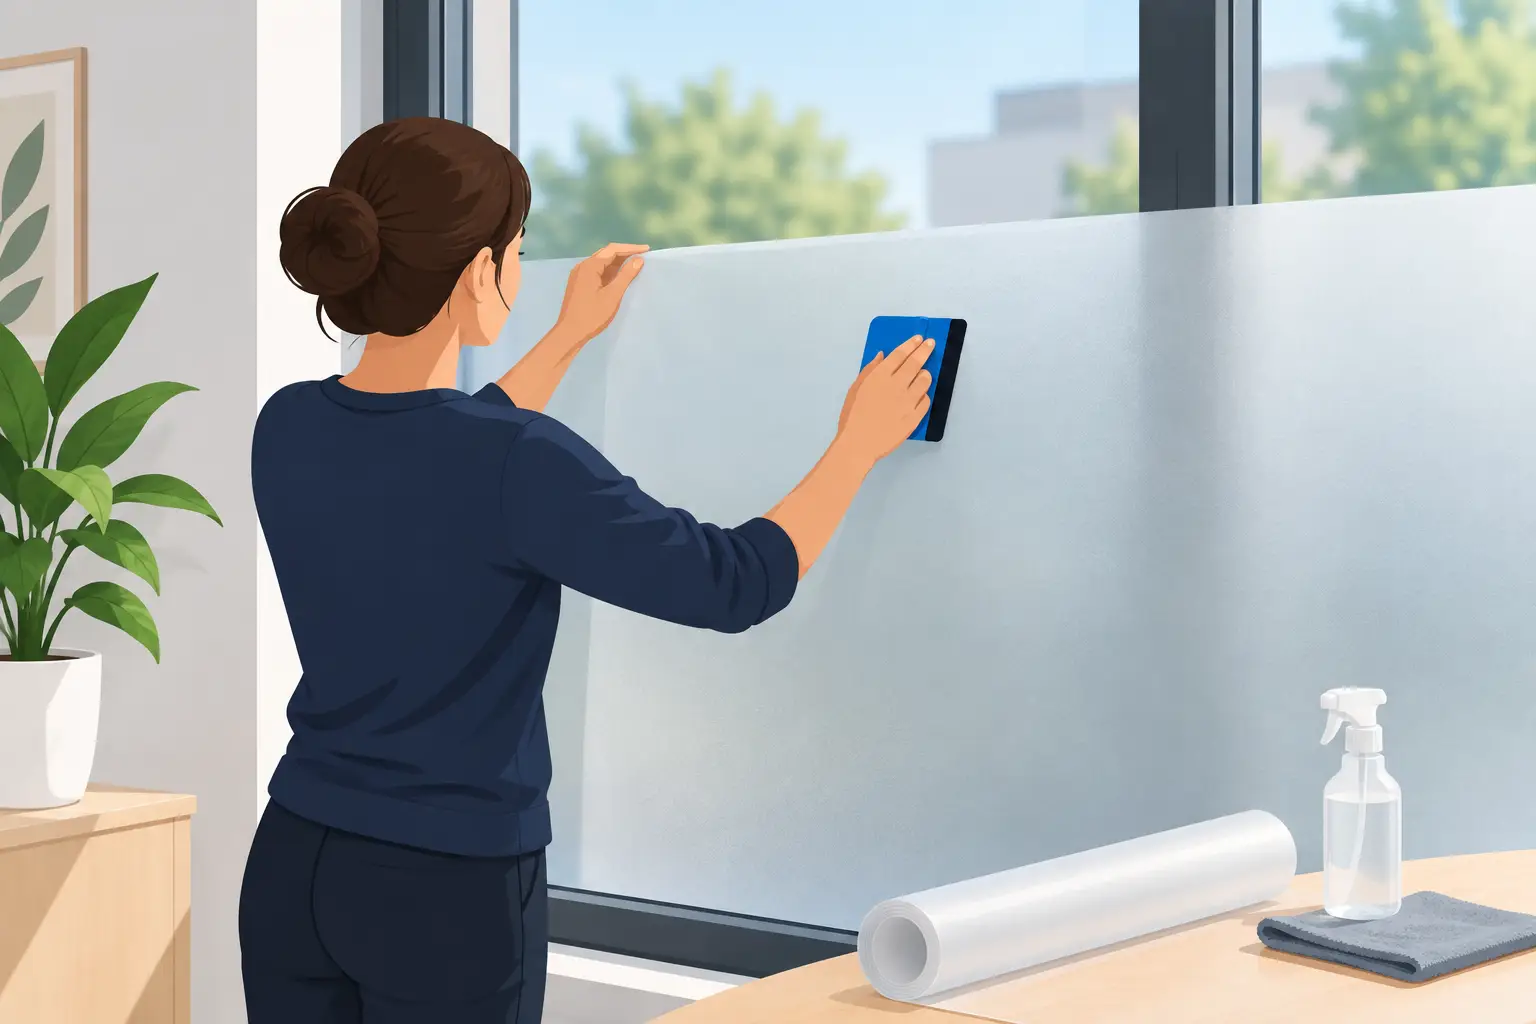
A bathroom window that feels too exposed, a glazed office partition with no privacy, or a caravan door that lets everyone look straight in all call for the same practical solution. Knowing how to add frosted film properly helps you gain privacy while keeping the daylight that makes a room feel usable.
Frosted window film is applied to the inside face of flat glass. It creates a translucent finish that obscures the view through the pane, yet still allows light to pass into the room. The quality of the result depends less on the film being simply stuck to the glass and more on preparation, accurate cutting and removing every trace of water and air during installation.
What frosted film is designed to do
Frosted film is a privacy film, not a blackout product. It softens light and prevents clear views through the glass, making it well suited to bathrooms, entrance doors, sidelights, meeting rooms, internal partitions and lower-floor windows that face a pavement or neighbouring property.
It can also improve the appearance of older or mismatched glazing. A plain frosted finish gives glass a clean, consistent look without changing the window itself. For commercial premises, it can define office areas or offer staff privacy while retaining an open feel.
The trade-off is straightforward: you lose a clear view through the treated section of glass. If outward visibility is important, consider applying the film only to the lower portion of the pane or choosing a decorative pattern with clear sections. For rooms that suffer from intense sun, glare or overheating as well as privacy concerns, a solar-control or reflective film may be a better fit than a standard frosted finish.
How to add frosted film: prepare the glass first
A professional-looking installation begins with spotless glass. Film can magnify what is already on the window: dust, dried cleaning residue, paint specks and tiny fibres can all become visible beneath the finished surface.
Clean the glass thoroughly using a suitable glass-cleaning solution and a lint-free cloth. Pay close attention to the edges, corners and the area close to window seals, where dirt often collects. Avoid products that leave a waxy shine, as these can affect adhesion. Once the pane appears clean, inspect it from different angles in daylight. Any mark you can see before fitting may remain visible afterwards.
Check the condition of the glazing as well. Frosted film is intended for smooth, flat glass. It is not a reliable solution for heavily textured, damaged or unstable panes. Where there are chips, failed seals or loose beading, resolve those issues before fitting film.
Measure with the finished edge in mind
Measure the visible glass area, not simply the overall window frame. On many windows, a small amount of the glass sits behind the rubber gasket or beading. Film should normally finish just inside that line, rather than being forced into the seal.
For a full-pane installation, professionals usually leave a very narrow gap around the perimeter. This gives water used during fitting a route to escape and helps prevent the edge from lifting as the film settles. The gap should be neat and consistent rather than obvious.
If you are frosting only part of a window, decide the height before cutting. In a bathroom, for example, the film should cover the area where privacy is needed when someone is standing or using the room. On a front-facing window, a lower panel can block direct sightlines from outside while preserving a clear view above.
For doors and glazed partitions, use a level or straightedge. A line that is only slightly off can be surprisingly noticeable once the film is in place.
Cut the film slightly oversize before trimming
Cutting frosted film exactly to its final dimensions before it reaches the glass leaves no margin for adjustment. It is safer to cut it a little larger than the pane, position it, then trim it accurately once it is in place.
Use a sharp blade and a clean straightedge. A blunt blade can pull the film, create ragged edges or scratch the glass. Change the blade regularly, especially when working across several panes.
Keep the protective liner on the adhesive side until you are ready to apply the film. As soon as the liner is removed, the adhesive surface can attract dust, so this stage should be organised and carried out without delay.
Apply using a wet-install method
Most quality frosted films are fitted using a water-based slip solution. This allows the film to move into position before it bonds fully to the glass. Attempting to apply adhesive film dry makes it far harder to correct alignment and increases the risk of trapped air.
Spray the cleaned glass evenly with the recommended application solution. Remove the liner from the film while keeping the adhesive side wet as well. Then place the film onto the glass, starting at the top and allowing the wet surface to support and position it.
At this stage, do not worry if the film shifts slightly. That movement is useful. Align the top and side edges, then use a professional-grade squeegee to work from the centre outwards. The aim is to push the solution and air towards the edges in firm, overlapping strokes.
Use enough pressure to clear the moisture, but do not scrape directly against unprotected film. A suitable application card or squeegee sleeve helps prevent surface marks. Keep the outer surface lightly lubricated with solution so the tool glides smoothly.
Trim, edge-finish and allow time to cure
Once the main water has been removed, trim the film carefully along the edge of the visible glass. Use the frame or gasket as a guide, but do not cut into rubber seals. Finish with a final squeegee pass around the perimeter to remove remaining moisture.
Small, hazy patches or fine water bubbles can be normal straight after installation. They usually reduce as the film cures. Drying time depends on the temperature, humidity and amount of sunlight on the glass. A cool, shaded room can take longer than a bright, warm one.
Do not pick at the corners or press repeatedly on a bubble while the film is curing. Large air pockets, creases and contamination beneath the film are different matters and may need professional correction. A clean installation should lie flat, with crisp edges and an even frosted appearance.
When professional fitting is the better option
Adding frosted film to a small, easily reached window can be manageable with the right preparation and patience. However, professional installation is usually the better choice for large panes, multiple windows, doors, overhead glazing, internal office partitions or glass close to stairs and awkward access points.
It is also worth seeking advice when privacy is only one part of the requirement. A home office facing the sun may need glare reduction as well as obscured glass. A shop or office may require branded manifestations, privacy bands or a finish that meets practical safety considerations. Static caravan owners may want privacy without making a compact interior feel darker.
A commercial-grade film and experienced fitting service give you more control over the finished result. The right solution can be tailored to the direction of the glass, the level of privacy required and how the room is used, rather than treating every window the same.
Keep the finish looking clean
After the film has cured, clean it gently using a soft cloth or rubber squeegee and a mild, non-abrasive cleaning solution. Avoid rough pads, powder cleaners and sharp tools around the edges. These can scratch the surface or damage the seal over time.
If the film is installed in a high-use area, such as a commercial door or busy internal partition, regular gentle cleaning is usually all that is needed to maintain its appearance. Frosted film should continue to provide privacy and soft daylight without demanding complicated upkeep.
For property owners in North Wales, Chester and the Wirral, the best result comes from matching the film to the problem rather than choosing a finish on appearance alone. A carefully fitted frosted film can make a room feel more private and more practical from the first day it is applied. Contact Solar Tint Wales to discuss a professional, tailored solution for your flat glass.